A recurrent problem occurs when you’ve spent hours/days/months rigging and skinning a biped and discover that your initial scale or size was wrong, either because you need to merge the biped into an existing scene with a different scale or you need to change your system units. I spent an inordinate amount of time trying to resolve this and found this solution:
In this example, I’m converting a model that’s 130 centimetres high with system units in inches to 130 centimetres in system units in centimetres – in other words making the model 2.54 times bigger, but it should work for any other type of scaling.
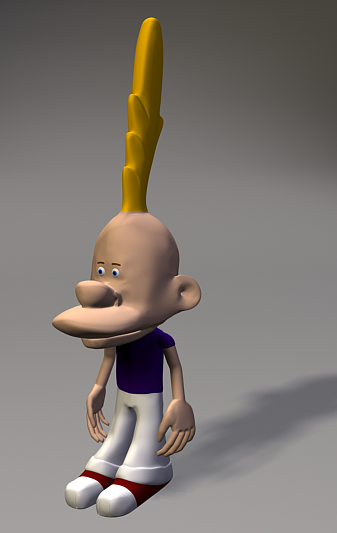
Input A scene X containing a skinned, weighted mesh on a biped. The biped is called BIP, the mesh is called BODY with a skin modifier.
Desired output A scene Y containing the same biped, with the mesh, bones and weights correctly scaled to a different size and/or units.
Prepare to convert
- Open X. Select the biped. Motion->Biped->Figure mode. Save File button to create BIP.FIG
- Select BODY. Select Skin modifier->Envelope. Open Advanced Parameters. Click save and create BIP.ENV
- Select BODY. Delete all modifiers (symmetry, skin etc). Save the scene as X1.MAX
You now have X1.MAX which contains the base mesh without modifiers, a FIG file with the biped definition and an ENV file with the envelope weights.
Create the new scene
- Reset
- If you need to change the system units for the new scene : Customise->Units Setup->System Units and change them
- File->Merge X1.MAX and select BODY. If you’re prompted, choose convert units (and not “adapt to file’s scale”). Check that your scene now contains only the mesh with no modifiers.
- Use Tools->Measure distance in front view to confirm that the mesh is indeed 130 cm high – not the 51 cm that you might have expected when changing from inches to centimetres
- Create->Systems->Biped. Drag in the front viewport to create a tiny biped next to your mesh (make it knee-high to your mesh)
- Select the COM of the tiny BIP01 you just created. Motion->Figure mode. Click load file and select the BIP.FIG you created above. The biped should centre to your mesh but it’ll be 2.54 times smaller, standing between your biped’s ankles. Check in top view.
- With BIP01 still selected, open motion->Structure and note the BIP’s height (just under ankle attach). Multiply this value by 2.54 and replace the height with this new value. This seems to be the trick to scaling a biped correctly. BIP01 should now match the size of the mesh closely. Make BIP01 see-through (object properties) and orbit in perspective to check that the bones and mesh are correctly aligned.
- If your mesh was only one half, select BODY and add symmetry (and any other pre-skin modifiers).
- Add a Skin modifier onto BODY.
- Select BODY->Skin->Envelope. Open Advanced and load BIP.ENV.
- Save scene as Y.
You should now have a new mesh and biped, correctly scaled. You’ll need to check and maybe fix by hand:
- Vertex weights. Select each bone and look carefully for misplaced red vertices. Similarly, exercise the bones (not in figure mode) to isolate vertices that should be red but no longer are. The most efficient way to do this is to move the bone and select skin->envelope to adjust the buggered vertices by opening the toolbox and copy/pasting the weight of an adjacent vertex.
- Polygons. Depending on the scaling you migh see some narrow holes in the mesh, visible as pairs of parallel edges which have “moved apart”. Fix by welding with a low threshold.
- Bones. I have experienced an unexpectedly shortened neck making the head a little low; go into figure mode and scale as needed, this doesn’t usually mess up the vertex weights.
- Saved postures and poses. Don’t seem to translate so well for me, often making the biped look like a fatal trauma case. I found it quicker to redo them from scratch.
Good luck!


